COLOUR CORRECTION VS GRADING
Today we look at the differences between colour correction and what colour grading is. The commonly used phrase ‘Grading’ is used to group these two together, when in fact there is a clear difference between the two. So I’ll be explaining that through text and video so you guys can see. We incorporate all these intricate processes within our workflow and it has helped us greatly in making our footage stand out and be the best they can be!
Colour Correction
Colour correction is about balancing out your colours. This means making the whites appear white, the blacks actually appear black and that everything in between is nicely balanced. We work on every individual piece of video footage to match the colour temperature of all shots to a consistent technical standard of appearance.
The goal is to match the video footage to a standard that would be an accurate portrayal of how it would look through the human eye. Under a warm or cool light, a white object will always appear white. But with cameras, if you don’t set it to the proper white balance, it can appear slightly off-white. Either leaning towards the blues or the Greens.
Also, if you’re shooting outside over the course of a day, the quality of the sun is going to change and your video will not look quite right. Lighting will change and certain shots of your video will not match up. That’s why colour correction is so important. It will make your shots seamless and make your video look like they were all shot at the same time.
Color correction is used in every film you see, making scenes from a movie look as natural and as close to the way the human eye views something. We colour correct using primary and secondary tools, as well as masks and mattes. We refer to this part of the grading process as the ‘Primary Grade’.
The Grading
After the correction, we move into the realm of the grade itself. The part where you can show off. Whether that be subtly or drastically.
- Removing distractions: Isolating and manipulating annoying elements that prevent shots from matching each other, such as lighting issues and noise
- Controlling the viewer’s eye: Using shape power window masks (or other techniques), attracting the eye to the focal point of interest
- Creating looks: Stylizing an image to indicate a flashback, dream sequence, or re-creation—or simply to give the entire project a unique feel
You create the actual aesthetic of your video. But this is an entirely optional process, especially if the film is meant to be as realistic as possible. However, the right colour grading does help convey a visual tone or mood to heighten the narrative.
Usually, quick turnarounds or extremely tight budgets prevent colourists from doing a full-colour grade.
But every color grade requires the colorist to begin with the intent of doing a color correction pass on each shot.
But basically,
No matter which words you use, as long as you know the proper order of things (correct problems first, then shot match, then stylize and control the eye), you’ll make it to the finish line.
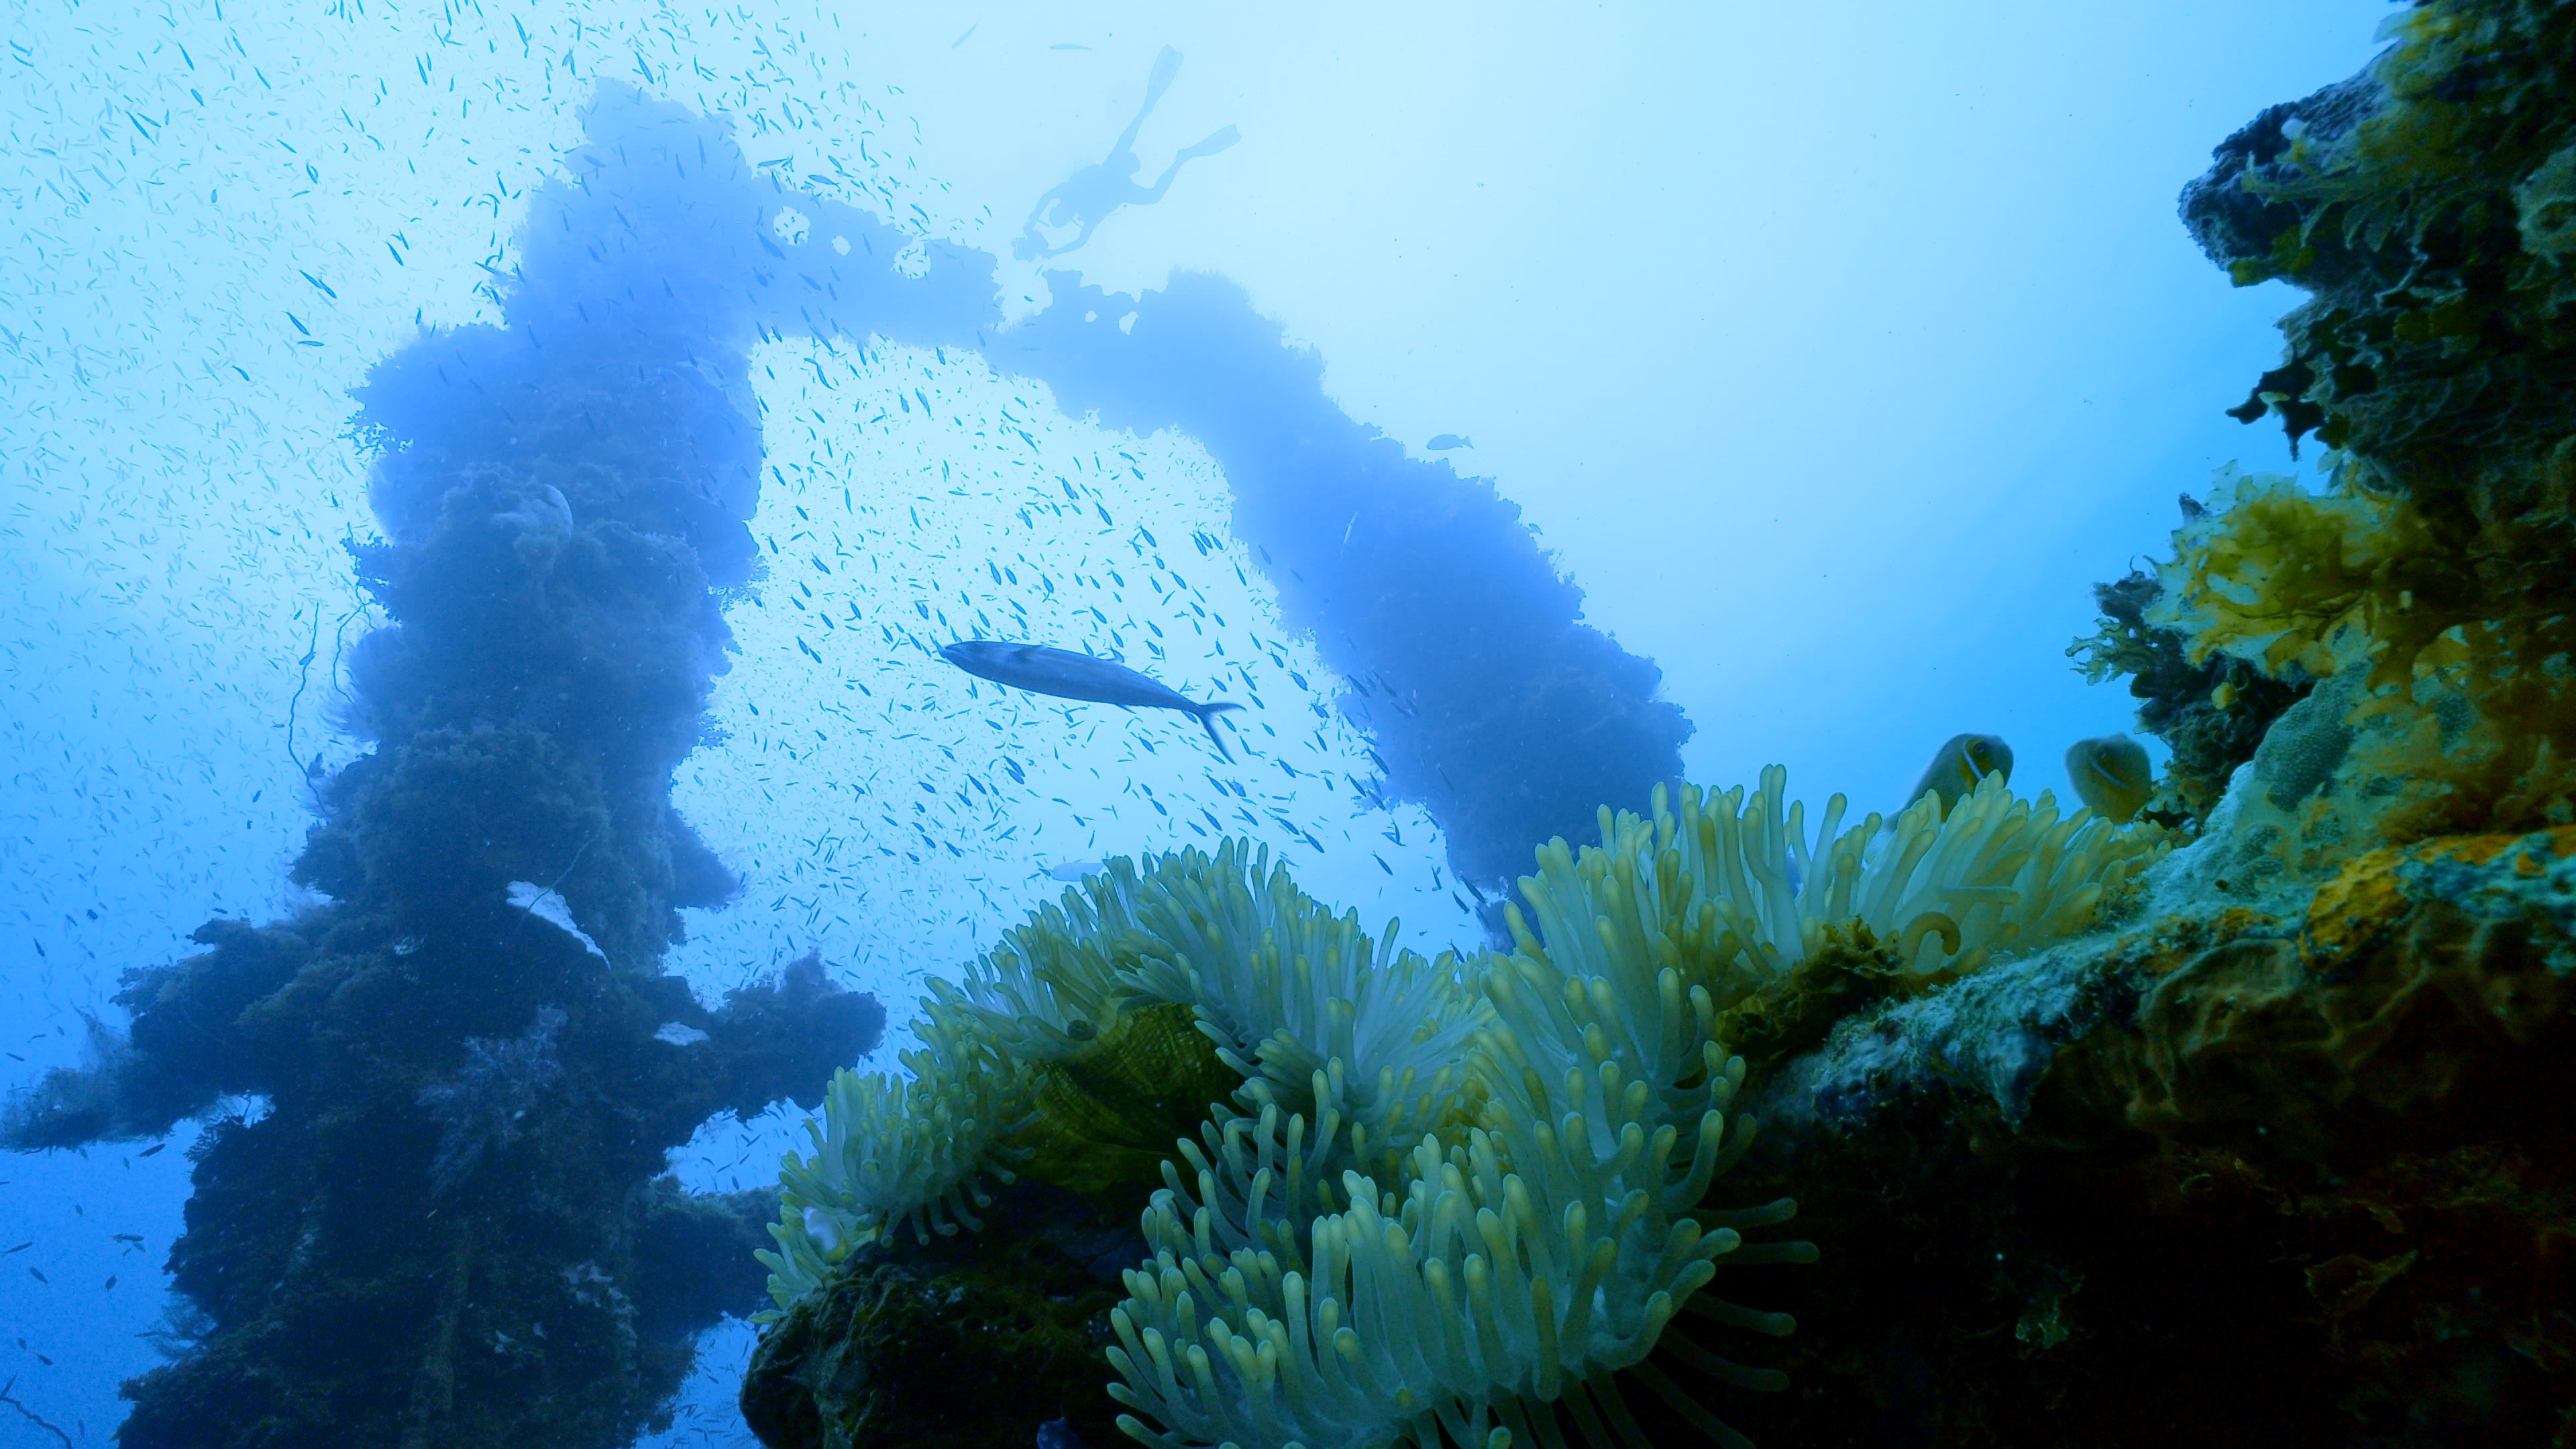
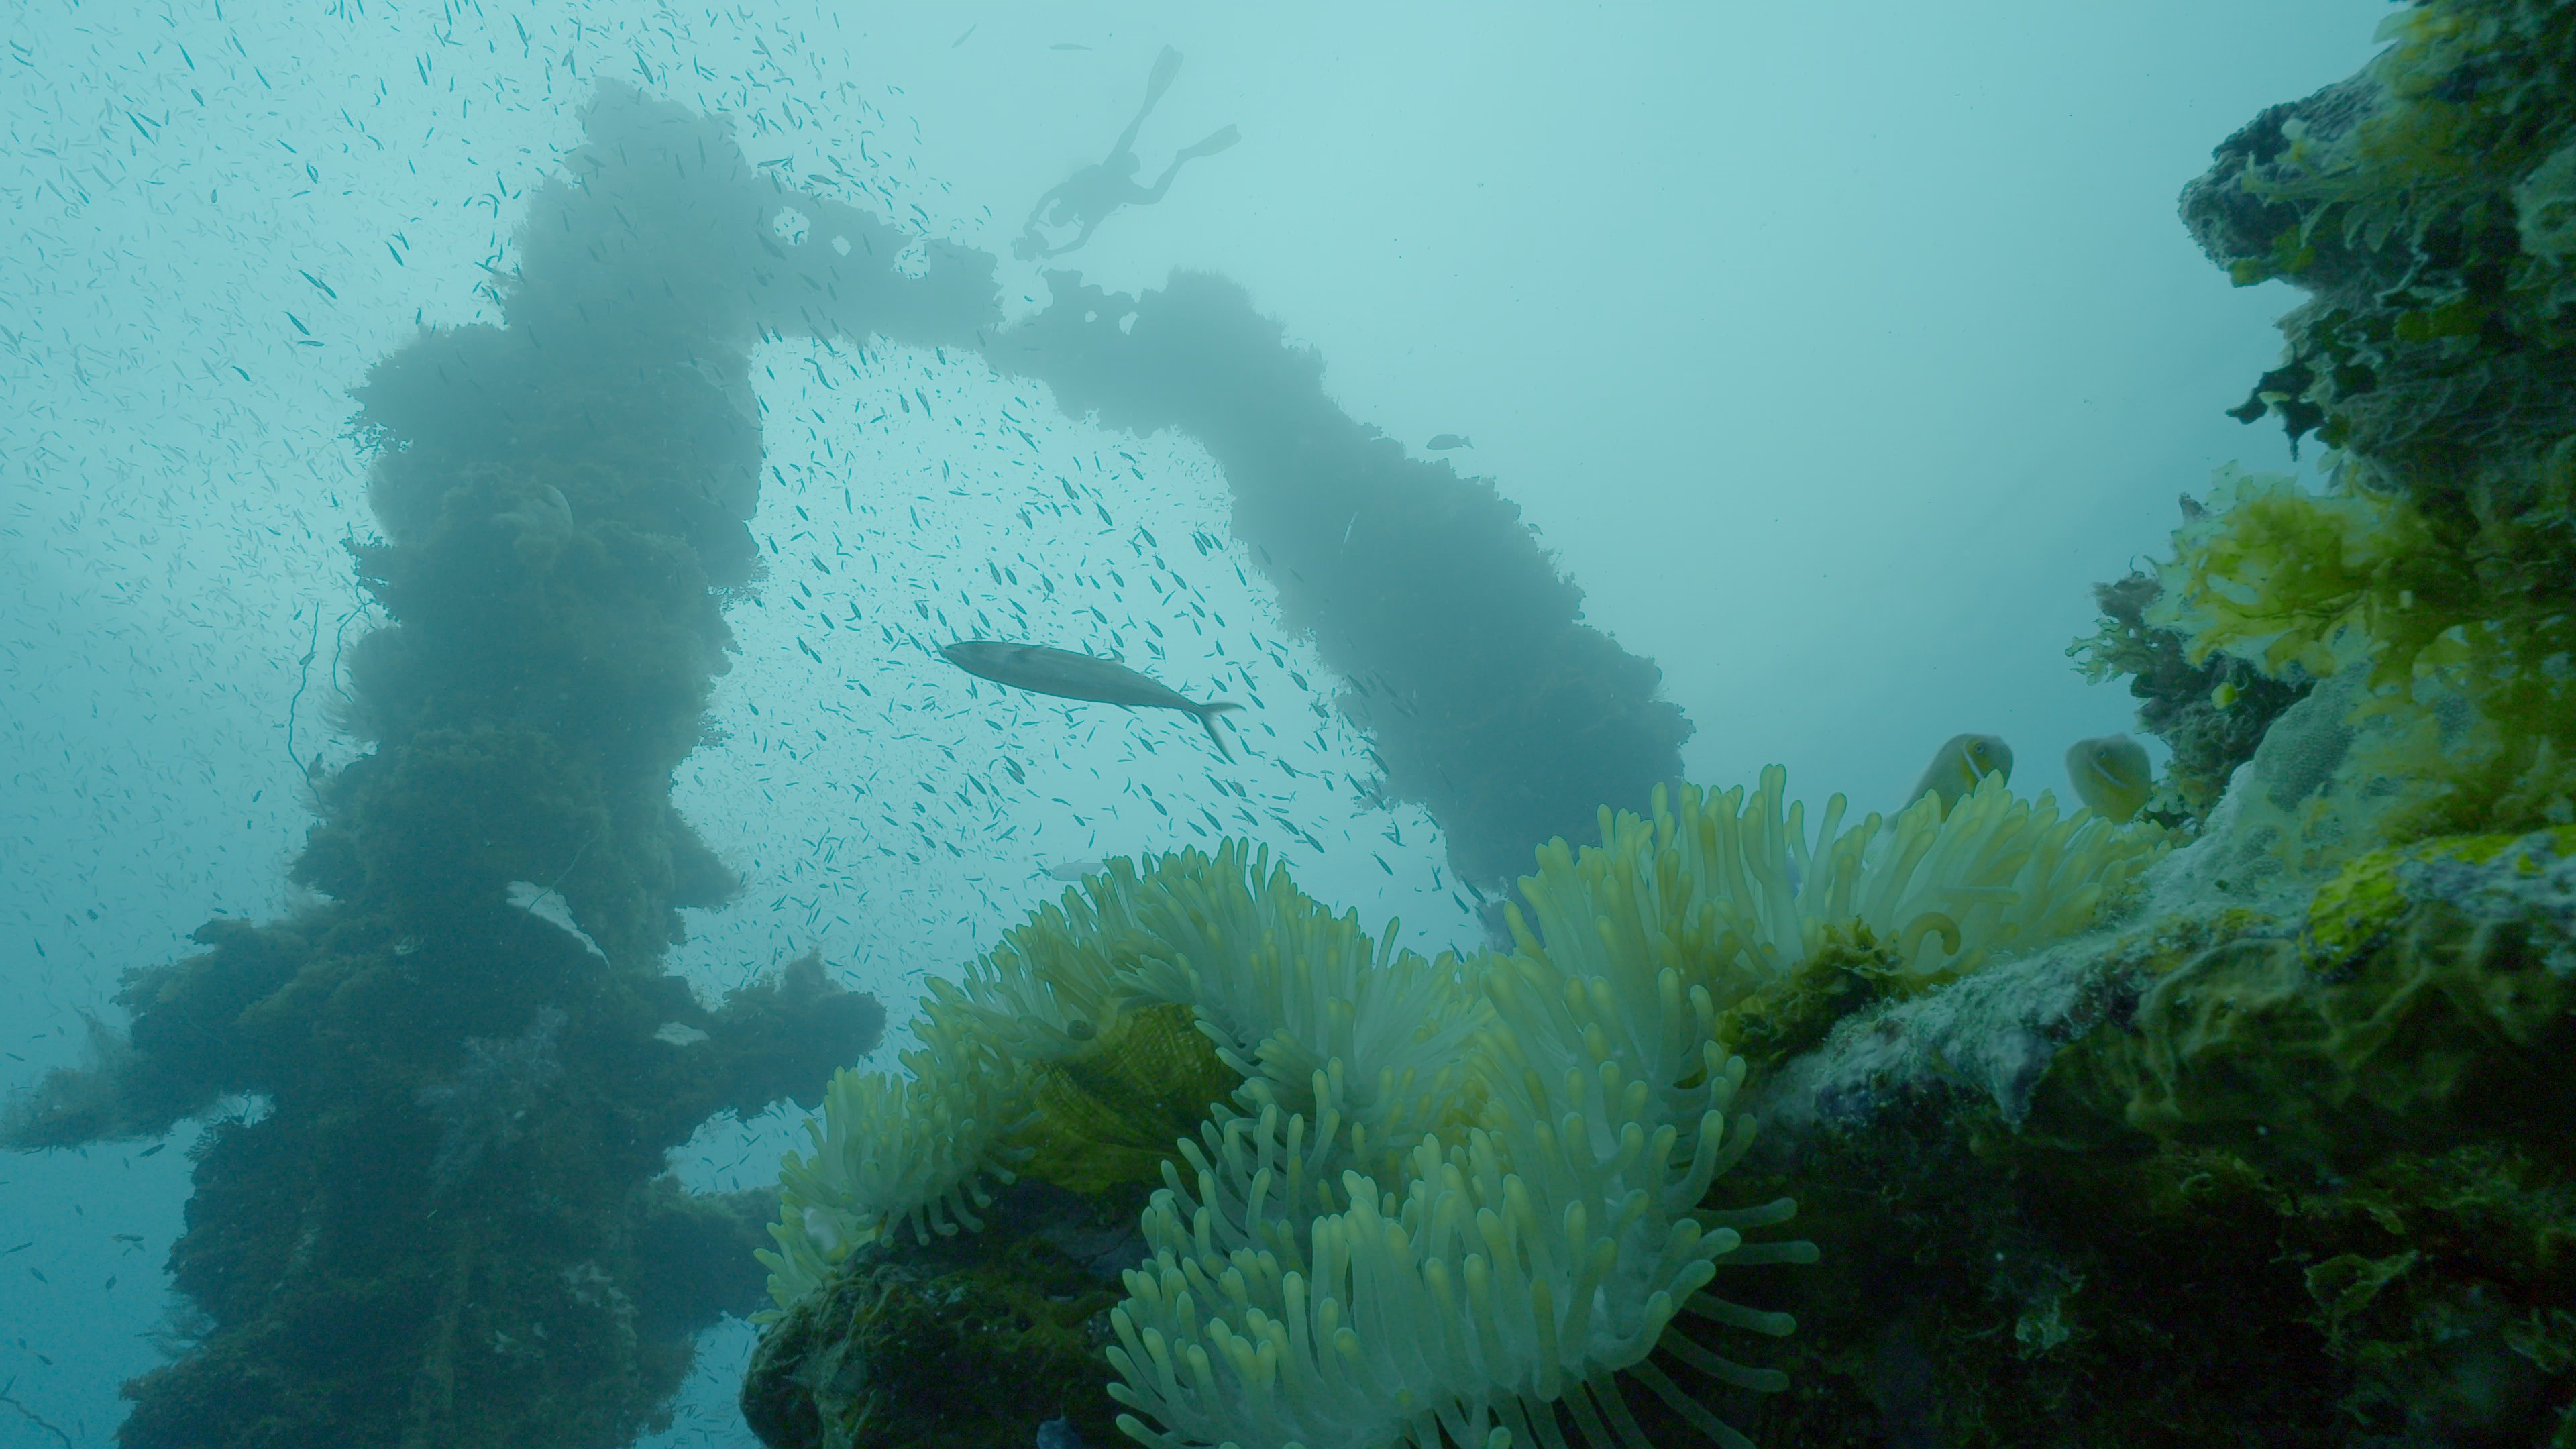
Here, I will show you an example of what colour balancing and correction looks like. Its a simple but technical process.
So you guys can understand a bit better. I have created these two colour grading breakdowns from our footage in Chuuk Lagoon. These will show you the processes that go into grading a piece of footage on DaVinci Resolve. I have labelled them so you can see each individual part of the process. Take a look.


